How to Clean Rim Jets in Toilet

How to Clean Toilet Rim Jets: A Comprehensive Guide
Why Clean Rim Jets?
In a perspective sight on bathroom hygiene, a clean toilet is important. However, often the parts included in the ordinary cleaning are normally left un-reached, that is, usually the rim jets and fill valves. Poor flush performance may indeed be due to rim jets clogging, while higher expenses may indeed be due to a malfunction of the fill valve. This is therefore how to actually clean both elements- made simple for you by Cleaning Services Round Rock.
Rim jets are small holes around the underneath part of the toilet bowl's rim. Water lets out every time there is a flush. If this gets clogged by mineral deposits or mold, the effective power of your flush goes down. The fill valve, on the other hand, is located inside the tank because its purpose is to regulate water flow into the bowl. This is where any sediment buildup will result in leaks or inconsistency in filling. Cleaning both of them means assured good performance and optimal use of water.
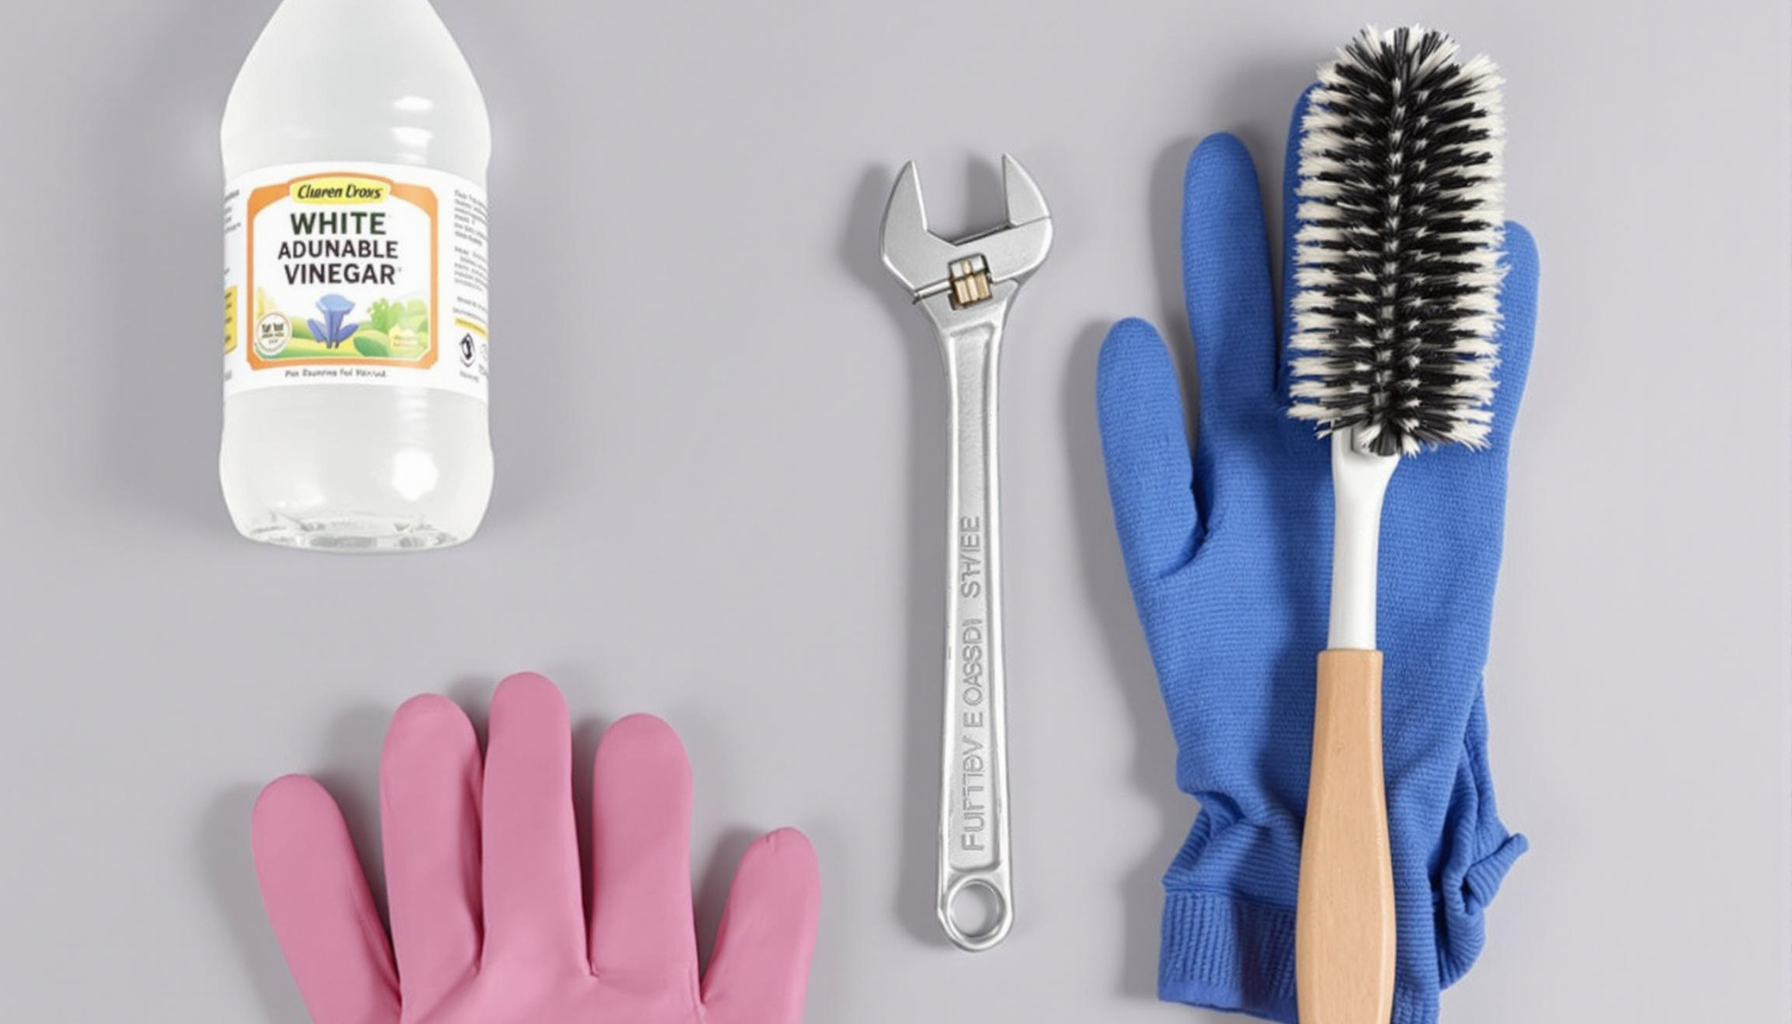
Tools You'll Need
Rubber gloves
White vinegar or CLR cleaner
Thin wire or pipe cleaner
Soft-bristled brush
Adjustable wrench
Towels
Cleaning Toilet Rim Jets-Part 1
Step 1: Water Supply Off
Locate the shut-off valve behind the toilet and turn it clockwise. Flush to drain the remaining water from the tank and bowl.
Step 2: Inspect Rim Jets
Put on gloves and check the rim jets under the edge of the bowl, shining a flashlight to find blockages such as lime scale or debris.
Step 3: Soak with Vinegar
Pour undiluted white vinegar into the overflow tube of the tank (the vertical pipe in the tank). Let it sit for 30 minutes to dissolve mineral deposits in the rim jets. If buildup is heavy, use a commercial descaling solution.
Step 4: Clean the Jets
Dip a soft brush in vinegar and scrub each jet. Use a thin wire or pipe cleaner to dislodge grime out of narrow holes. Avoid using harsh tools, which can scratch the porcelain.
Step 5: Flush and Testing
Turn the water supply back on, and flush a few times to rinse the jets. Check for an even stream from all holes.
Part 2: Cleaning the Toilet Fill Valve
Step 1: Drain the tank
Shut off the water supply at the stop and flush the toilet to drain the tank. Soak up remaining water with a sponge.
Step 2: Removing the Fill Valve
Use an adjustable wrench to unscrew the water supply line from the valve. Loosen the lock nut under the tank and lift the valve out. THE REPAIR.
Step 3: Soaking and Descaling
Soak the valve in vinegar for 15–20 minutes. Scrub with a brush to remove sediment. Rinse well.
Step 4: Reinstall the Valve
Place the cleaned valve back into the tank, and replace and tighten the lock nut. Re-connect the supply line. Turn water on and allow the tank to re-fill.
Preventive Maintenance Tips
Clean rim jets every 3–6 months if you have hard water. Test fill valves for leaks by adding a few drops of food coloring to the tank. If color appears in the bowl without flushing, replace the valve. If the problem persists, you may want to consider calling in a professional. Apartment Cleaning Austin proudly offers plumbing services to rentals and homes.
When to Call in a Professional
If poor flushing and leaks do not get sorted out with their cleaning, then it would also be about time to get the experts in. Round Rock Cleaning Services does comprehensive bathroom cleaning, from the descaling of the rim jets down to changing of valves. Reliable, hassle-free solutions can now be arranged upon contacting us.
By maintaining your toilet’s rim jets and fill valve, you’ll save water, prevent clogs, and extend your toilet’s lifespan. For more cleaning guides or professional assistance, trust Cleaning Services Round Rock. Visit our homepage today to book your service!
Name: Sparkly Maid Austin Cleaning Services
Address: 200 Congress Ave. Suite 200, Austin, TX 78701
Phone: (512) 617-5979